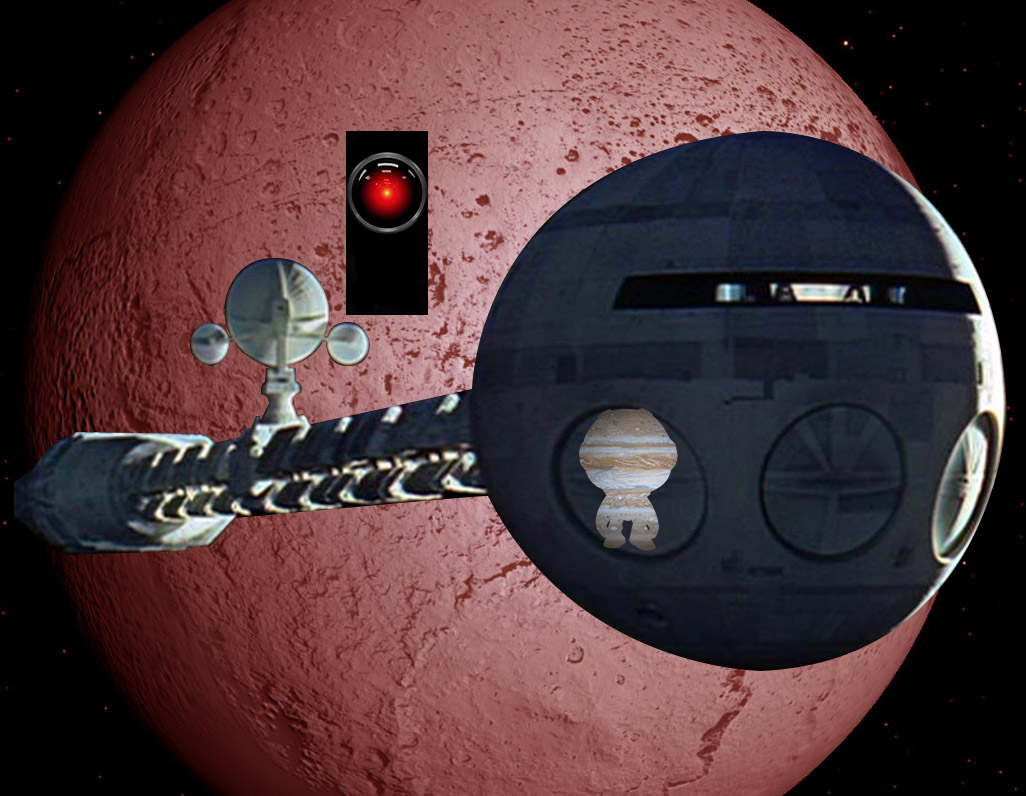
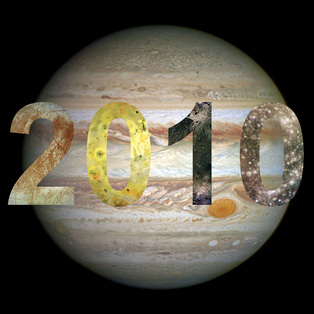
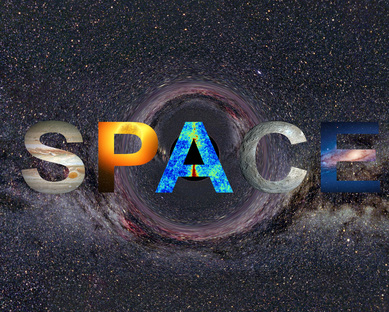
First Nine Week Project 1:
In this project, I used five base images (One of the Astronaut, one of Jupiter, one of the Space Ship Discovery, one of the HAL9000 Unit, and another of Iapetus). First, I used the pen tool to outline the astronaut from the base image and created a clipping mask with the Jupiter image. I then imported and outlined, with the pen tool, the Space Ship Discovery. I placed the Astronaut in one of the pod bay doors and used the perspective option to fix his orientation. I then zoomed in and, with the brush tool, created a black, four by nine pixel rectangle and, using the transform option, made it much larger. I then imported the HALL "fish-eye lens" image, centered it on the monolith, and added a little bit of bevel and emboss. Finally I imported the Iapetus image and, using the color balancing options, turned the moon red.
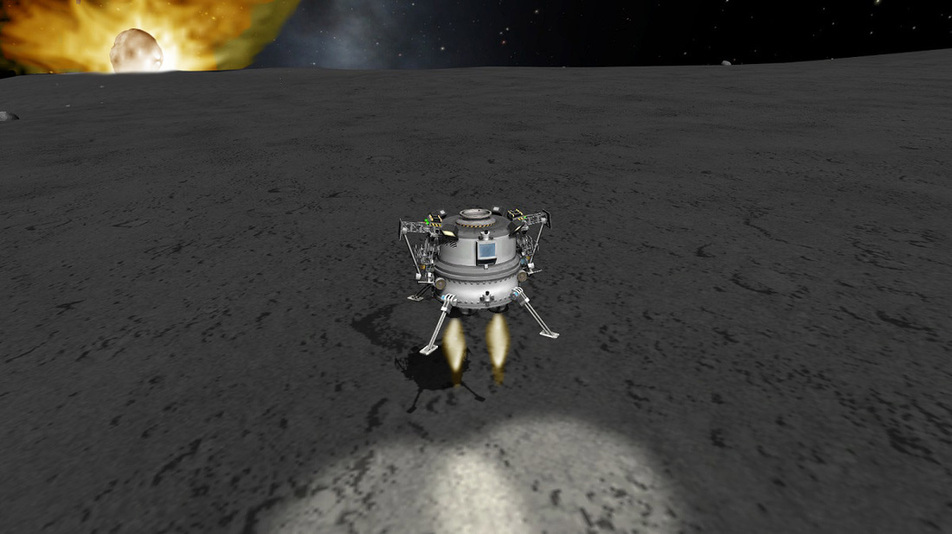
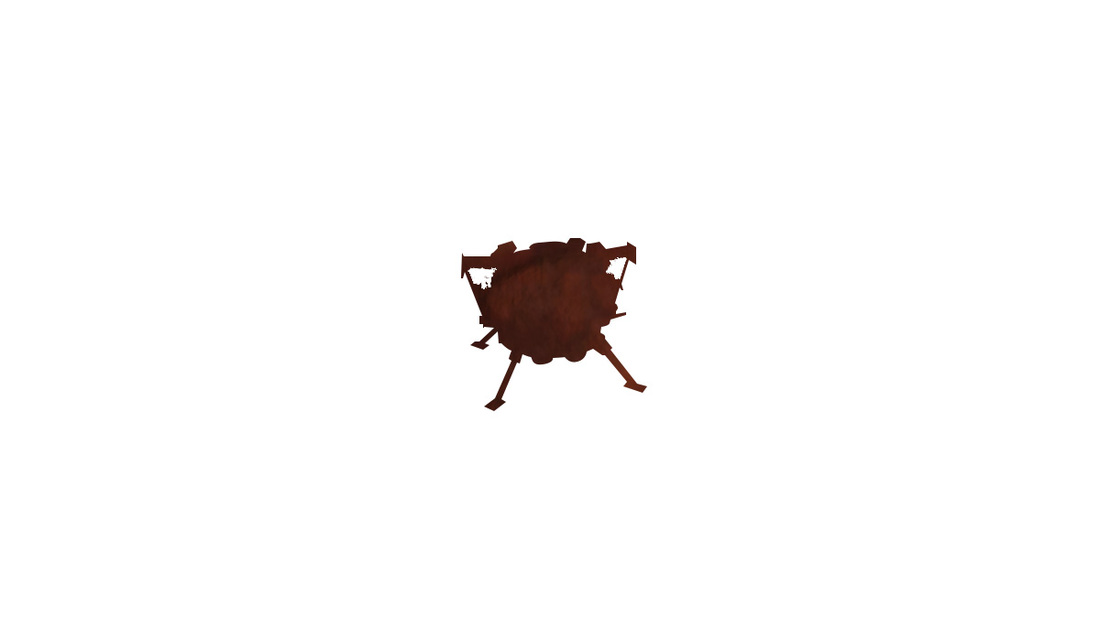
First Nine Week Project 2:
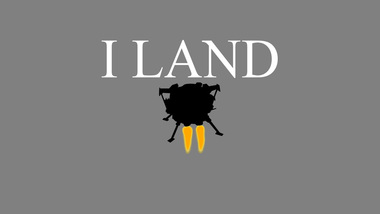
In this project, I used three base images (One of the lander, one of the surface and another of an asteroid). First I used the pen tool to outline the lander and make a selection. I then positioned a copy of the lander and filled in in with black to create the shadow. I also used the dodge tool to create the lighting effects from the lander. Next I added exhaust effects from the engine by adding, on a different layer, two brush strokes of white. I then used the smudge tool and then the color balancing option to make it appear as a flame. In the background, there is a asteroid crashing into the surface. I created a custom brush for the explosion and then used a similar method to create the flames for the exhaust to create the effects around the asteroid.
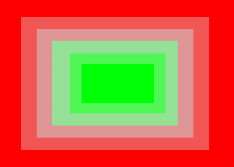
Project 1: Josef Albers
In this project, the main focus of this was learning to use and color with the marque tool.
|
|
|

|
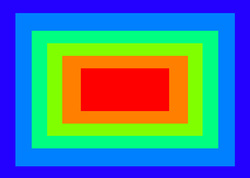
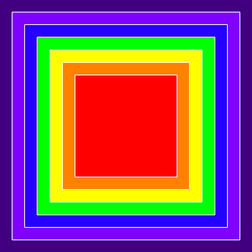
Project 2: Frank Stella
This project was very similar to the Josef Albers project except with different coloring schemes and more practice with the marque tool.
|

|
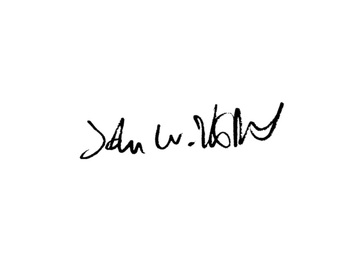
Project 3: Creating Signature Brush
In this project, the main focus of this was learning to create a custom brush to be used as a signature.
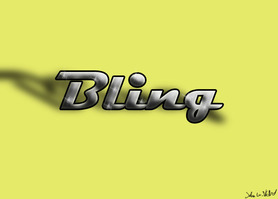
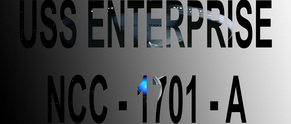
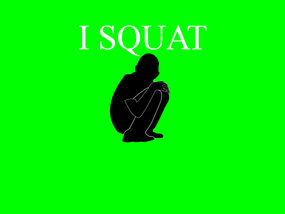
Project 4: Bling
In this project, the main focus was learning how to edit text to create a different look than what can be achieved in a program like word.
|
|
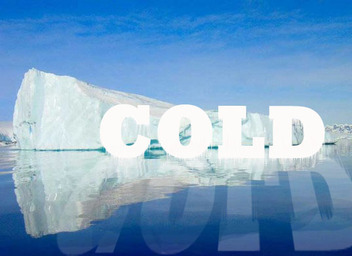
Project 5: Cold
This project was very similar to the Bling project except with the addition of the reflection.

|
|
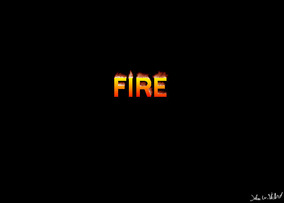
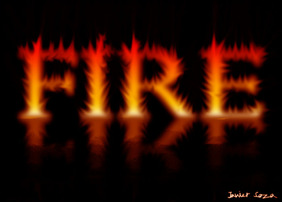
Project 6: Fire
This project was very similar to the Bling and Cold projects except with the addition of the smudge and gradient tools.
|
|
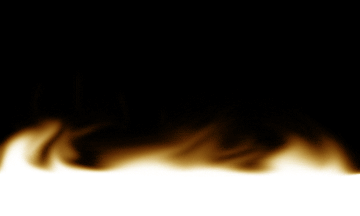
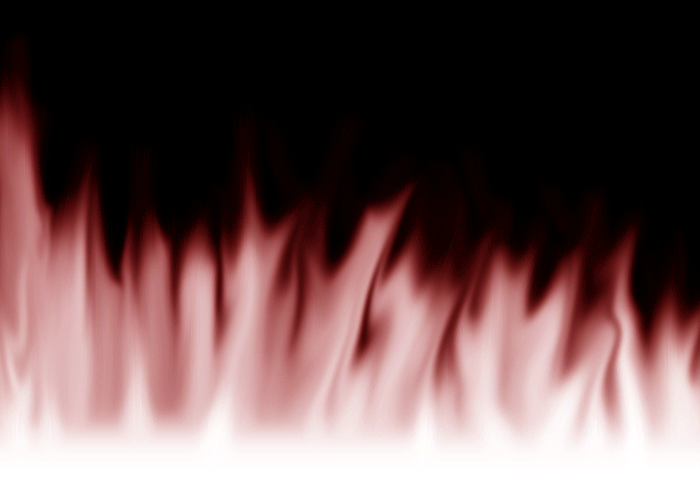
Project 7: Animated Fire
In this project, the main focus of learning was on creating an animated image to look like fire.
|
|
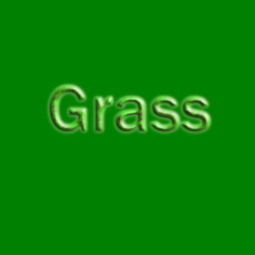
Project 8: Grass
In this project, the main focus of learning was using the layer styles such as bevel and emboss.
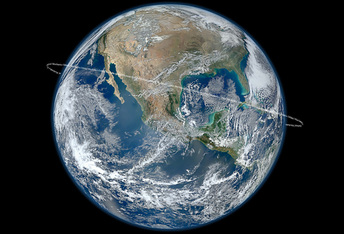
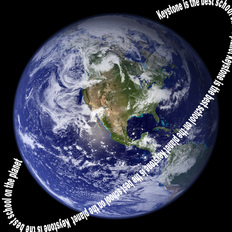
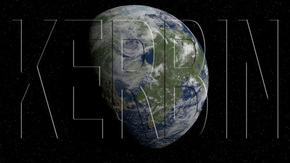
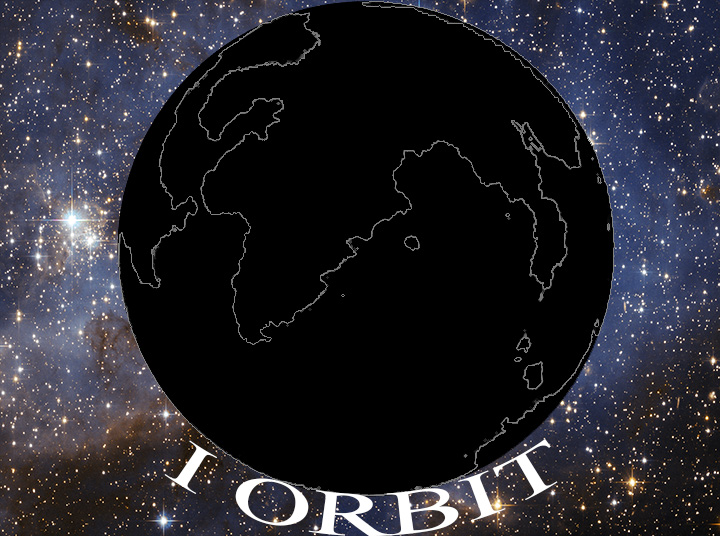
Project 9: Earth
In this project, the main focus of learning was using the work path to give the illusion of orbiting text.
|
|
Project 10: Stitches
In this project, the main focus of learning was using the stroke path with the pen tool to give the illusion of stitches.
|
|
Project 11: Creating Custom Brush
In this project, the main focus of learning was using the selection and pen tools to create a custom brush.
|
|
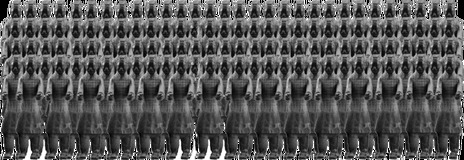
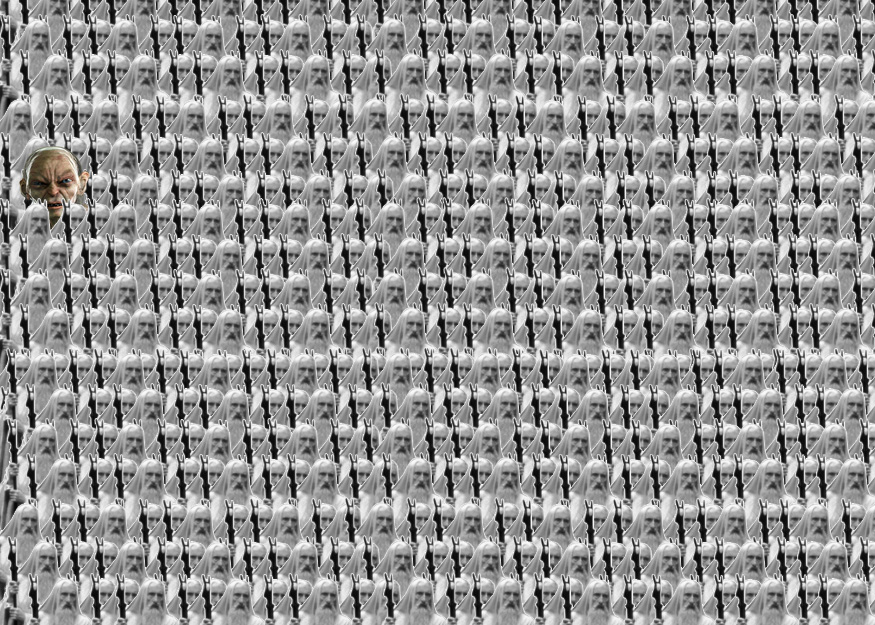
Project 12: Terracotta Army
In this project, the main focus of learning was using the custom brush and brush options.
|
|
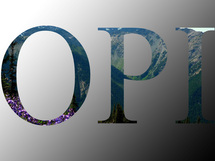
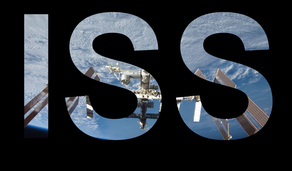
Project 13: Clipping Masks
In this project, the main focus of learning was using the clipping mask and text tools.
|
|
|
|
|

|
|
|
Project 14: "I Pod" Commercal
In this project, the main focus of learning was using the pen tool to create a selection to be transformed into a silhouette.
|
|
|
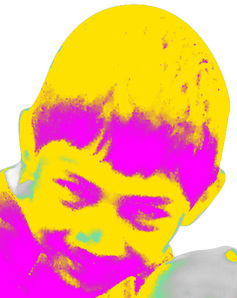
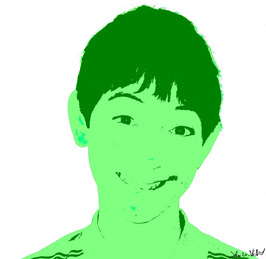
Project 15: Strange Colors
In this project, the main focus of learning was using the select color range to modify the Shadows, Midtones, and Highlights of an image.
|
|
|
|
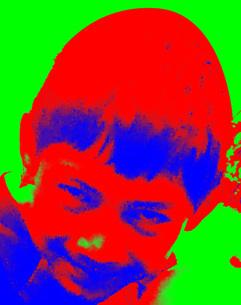
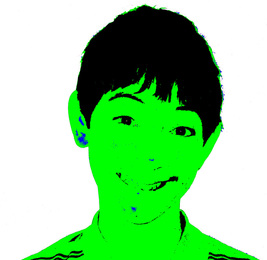
Project 16: Posterizing Tool in Andy Warhol-esque Piece
In this project, the main focus of learning was attempting to create a similar effect to project 15 with the posterization option and not the color range.
|
|
|
|
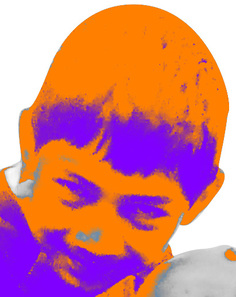
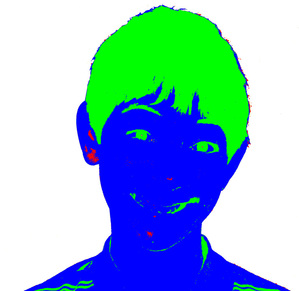
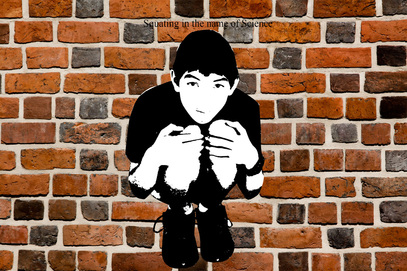
Project 17: Banksy
In this project, the main focus of learning was using the threshold option, which is similar to the posterization option to separate the colors.
Project 18: Liquify Tool
In this project, the main focus of learning was using the liqufy tool to distort images.

|
|

|
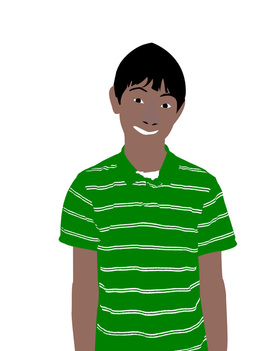
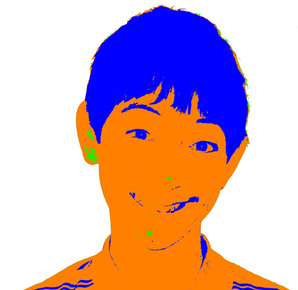
Project 19: Vector Portrait
In this project, the main focus of learning was using the pen tool and the fill option to pull out and simplify the colors in an image.